
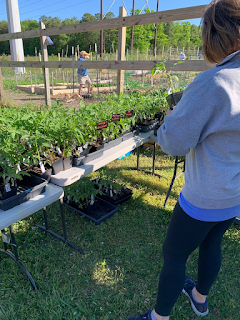
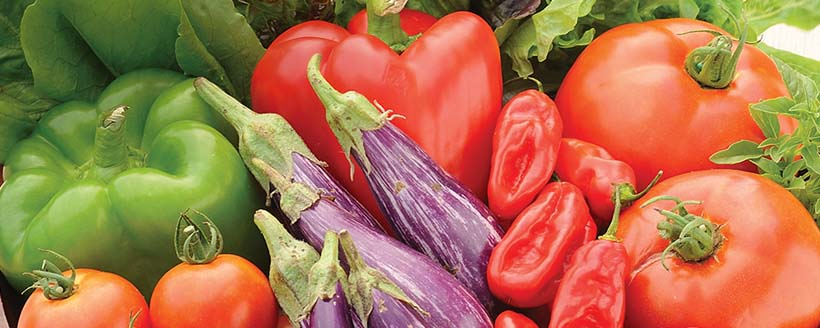
Following the cold-season plant sale, the sale for warm-season plants was a huge success! We offered a large variety of tomatoes, peppers, and eggplant and a couple varieties of herbs. We appreciate the support of our Community Gardeners and the public. Let us know how your plants are growing!
What to Plant When?
Hurray! It is finally time to plant tomatoes! Or plant them again if you were an eager gardener and the last frost got you, sorry. Now is the time to plant any of the warm-season crops, including cucumbers, beans, eggplant, melons, peppers, pumpkins, squash, sweet potatoes, and watermelon. It is now going to get too warm for planting any more cool-season vegetables, like lettuces, broccoli, beets, and radishes. Save the seed, though, for planting again in August for a fall garden.
Wildlife Control Efforts
As some of you may know (some more than others, Bill!) we have had a marauding bunny in the garden who has been helping himself to tasty morsels from our gardens. We have trapped him twice but he has escaped both times. If you were with us last year, you know the pests-du-jour then were rats (Yuck, but luckily, not this year since we moved the compost bins outside the fence). So, what is the Garden Committee doing to reduce the presence of wildlife pests?
You will notice that the second leg of the new fence on Stadium Road has been installed. The rabbit’s burrow was found on that side of the garden by the Wildlife Control expert who consulted with us. And as all the damage has been to plots near there, we are hoping that this will help. We will also be increasing our mowing of the area near the fence to provide a “no fly zone” to make it perilous for animals to cross without getting picked off by our hawks and osprey. Maybe the perch that has been installed at the south end of the Garden will welcome more raptors.
Of course, there may be other spots where wildlife can gain entry if we are not diligent in maintaining the fence. We have made concerted efforts to secure the remaining fence until such time as we can get funding to continue the permanent fence. Expanding the permanent fence is a major priority and we are hoping we can find resources to continue it this season. We have placed additional sandbags on the base of the plastic fencing near the back gate and ask your help in putting them back when you leave the garden. And we will be developing a program for wildlife control that will include regular inspections of the perimeter fence and improved control of weeds around the fence.
The Garden Committee hopes that our efforts will result in a more secure garden.
Pruning Tomatoes
Advice from Craig LeHoullier, the NC Tomato Guy
From his book “Epic Tomatoes”
Now that we all have our tomatoes planted, here is some advice on maintaining them as they grow with judicious removal of some of the “suckers”.
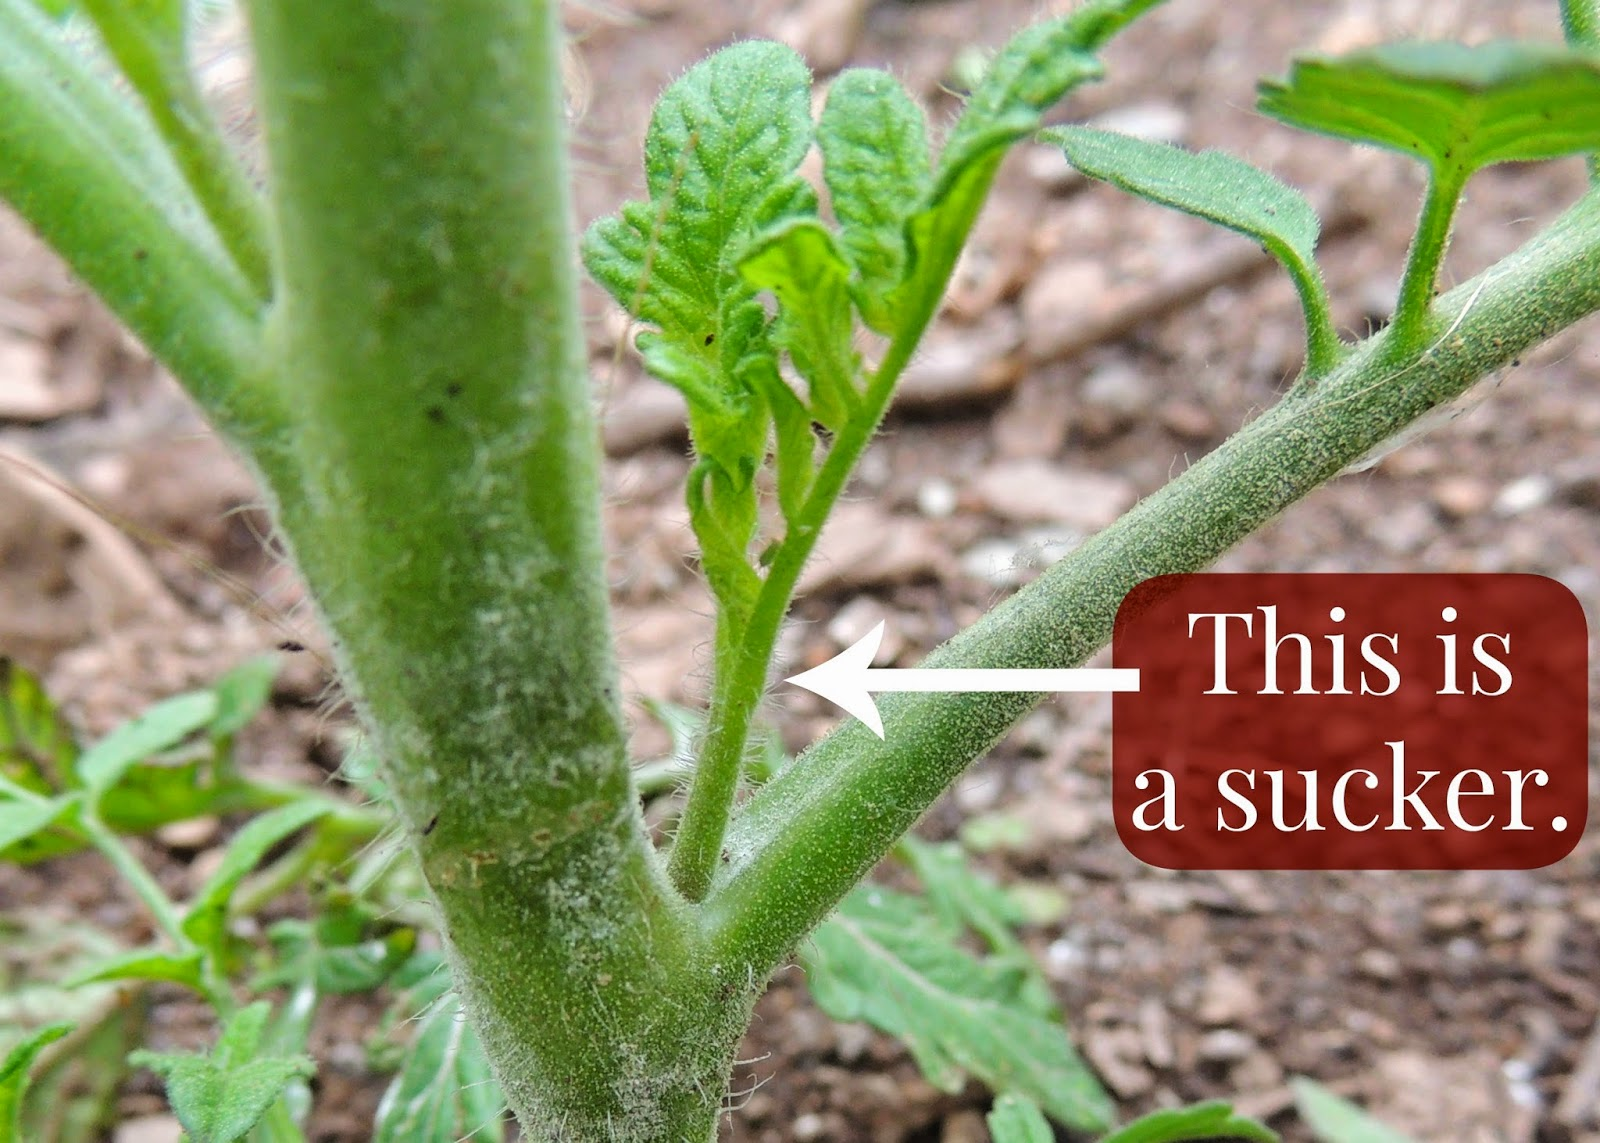
What are “suckers”? Suckers or side shoots are additional fruiting stems that emerge all along the plant at the junction of the main stem and leaf stems. Suckers will be at a 45-degree angle from the main stem. Suckers go on to produce more suckers and a plant can become densely complex and crowded by midseason.
What do suckers provide? Each sucker allowed to grow provides additional flower clusters and hence additional chances for fruit set. If, during the season, the majority of flower clusters open at times when the temperature and/or humidity is not suitable for pollination, the blossoms will drop and no fruit will be produced. Allowing suckers to grow on increases the probability of successful fruit set and increased yield. Suckers also provide additional foliage cover to reduce the risk of sunscald of the tomatoes.
When to snip suckers? An indeterminate tomato plant can grow out of control in a hurry due to the formation of suckers and then suckers from those suckers. Disciplined removal of suckers in order to provide a plant with a finite number of fruiting stems or branches leads to more control over growth and a far easier support task. Pruning to one or two stems will allow for more air circulation between plants and a way to maintain order in what could otherwise become a tangled mass of vines.
Should I “top” my plants? Since more flowers form than will pollinate and ripen before the end of the season, topping also ensures that a plant does not put energy into developing tomatoes that would never get a chance to properly ripen. Pick a plant height equal to the length of the supporting stake and pinch the stem just above a leaf stem that sits close to the final flower cluster. This prevents plants from becoming so top heavy that they topple in storms or develop kinks in branches.
WATERING YOUR GARDEN
By Sally Hewitt
Our soil is particularly sandy and this results in water draining through the soil quickly. Adding organic matter to the soil helps it retain water longer. One of the easiest ways to add organic matter is by mulching, for example, with the leaves we have at the Garden. Mulching your garden has many benefits and saving water is an important one. Below is a list of some of the many benefits to mulching.
Reduces water loss
Reduces weed growth
Moderates soil temperature- keeping it warmer during cold nights and cooler on hot days Reduces soil fungal and bacterial diseases by keeping the soil from splashing up on your plants when you water and when it rains
Breaks down and feeds your soil
Covering the soil with newspaper before mulching also helps to suppress weed growth and hold in moisture. The newspapers will degrade through the season and add to the soil.
When to water is also important. Watering early in the day or in the evening reduces evaporation loss.Windy days also increase evaporation- and it is often windy at our garden, so take that into consideration when planning your watering schedule.
To keep your plants healthy, watering the roots deeply is important. Watering just the surface allows your plants to grow roots close to the surface and shallow roots dry out much quicker. So, watering deeply is better than frequently watering just the surface soil. To see how far down your water has reached go ahead and stick your finger in the soil and see how far down it’s moist. If it’s dry an inch down then you need to water some more. Once your plants are deeply watered, they should not need to be watered for as much as a week, if properly mulched. The general rule is that plants need 1 inch of water per week, with some exceptions.
Plants also need water at specific times in their growth cycle. Newly planted seeds and new transplants need to be kept moist. Newly planted transplants can also benefit from shade if they continue to be droopy.The old Farmer's Almanac website has a nice chart detailing critical times to water for different vegetables. It also shows if vegetables need a lot of water during dry spells, needs water at critical stages of development, and plants that do not need frequent watering.This chart can be found at:
Living Together - Companion Plants for Your Vegetable Garden
By Kay Clapp
Companion planting in our region traces its roots to Native Americans planting the “three sisters” of corn, pole beans, and squash in one mound. The corn provided support, beans provided additional nitrogen, and squash provided living mulch that shaded the soil and prevented weeds.
While their “gardens” were much larger than our plots, there is ample opportunity for you to improve productivity by controlling insects and improving pollination. Companion plants also support other plants, improve soil quality, shade small plants, and suppress weeds. An overlooked advantage is that plant diversity provides a more visually pleasing landscape.
Control Insects: One of the first things passed down to me was to plant marigolds in the garden because the smell repelled insects such as leaf hoppers, worms, bean beetles, and nematodes. The scents and bright colors of herbs and flowers confuse harmful pests and attract beneficial insects.
You can plant tomato plants with parsley to attract insects and with basil about 10 inches away to increase yield. Radishes and tomatoes together encourage insects to eat the lower radish leaves first rather than the tomato leaves. Sage repels cabbage moths and carrot flies. Cilantro and dill are natural repellants of insects and also help to attract ladybugs which prey on harmful insects.
Improve Pollination: Flowering plants attract bees, butterflies, moths, and other pollinators to your vegetable plants. Some examples are marigolds and Calendula, which is used throughout the Colonial Williamsburg vegetable gardens. If the marigolds grow too big and start to crowd your companion vegetable, you can prune them back. Nasturtiums attract bumble bees and moths and also serve to “trap” aphids - but you will want to wash the aphids off with a blast of water.
Another cultural practice is to place deep rooting plants next to shallow rooting plants to take advantage of different root zones. A good mix is carrots with peas, strawberries with bush beans, and cabbage with herbs.
Mother Nature is a complex environment that we are just beginning to understand. Don’t worry about trying to grow a perfect garden with the perfect companion plants. Use guidance from the experts and also experiment with some companion mixes of your own. Have fun and keep gardening.
Here are a few references to help.
GARDEN WISDOM: Companion Planting Chart for Vegetables (windowbox.com)
Why Diversity Is an Advantage in a Vegetable Plot - The New York Times (nytimes.com)
Companion Planting and the Green Thumb - University of Tennessee (slideshare.net)

Recipes from the Garden
Chive Blossom Vinegar
By Carol Fryer
There are two ways to make chive blossom vinegar. You can pour warm vinegar over the blossoms and steep for 1-2 weeks, or you can infuse the blossoms in room-temperature vinegar for two weeks.
A. Heated method:
Ingredients
2 1/2 cup chive flower blossoms (fresh, not faded blossoms)
1 1/2 cups vinegar (white or champagne vinegar)
1. Rinse the blossoms in water to remove any dirt, then let them dry.
Lightly crush the blossoms with your hands to release their scent and flavor and loosely pack the flowers into a clean glass pint jar.
2. Heat the vinegar in a small saucepan over low heat until just warm.
Pour the vinegar over the chive blossoms . Push the chives down into the vinegar with a spoon. Be sure there is a small space between the liquid and jar cover, so the metal is not in contact with the vinegar.
3. Let the vinegar cool, then place a piece of parchment paper over the jar opening and screw on the top. Label the jar with the date and store the bottle in a dark, cool spot for 1 to 2 weeks minimum.
4. When you are happy with the chive-strength of the brew, strain the vinegar in a clean glass bottle, and discard the blossoms.
B. Unheated method:
Ingredients:
* 1 cup chive blossoms
* 1 ½ cup vinegar
* Optional: ¼ cup chopped chive leaves
1. Rinse and dry the blossoms; slightly crush the blossoms and loosely pack into a glass pint jar.
2. Pour the vinegar over the blossoms until they are completely immersed in the liquid.
3. Tightly cover the jar and label with the date. Store at room temperature away from direct lightfor from heat for 2 weeks.
4. Strain the vinegar into a clean glass bottle. Discard the blossoms.
Note: If you use garlic chive blossoms instead of regular chive, there will be a strong garlic-y flavor to the vinegar.


No comments:
Post a Comment